Traps
The Proximity Mine, Sentry Turret and Bear Trap side by side: what each one does, how fast it arms and what sets it off.
Traps are placed, not aimed. You lob one, it settles, and it works for you while you do something else. The Proximity Mine and the Bear Trap wait for an enemy to step in; the Sentry Turret picks its own targets for 9 s.
Arm time is your own safe window to walk away, and trigger radius is how exactly the trap has to sit on the path: the Bear Trap's 30 px must be dead on the route, the Mine's 48 px is more forgiving. Range belongs to the Turret alone, the 260 px it can see. A dash means the stat does not apply to that trap. Damage is not the whole story, either: the Bear Trap bites for 16 HP, but its pin makes every following hit cost 25% more. Kills from a trap are credited to whoever placed it.
All three can be destroyed (the Mine has 1 HP, the Bear Trap 15, the Turret 40), so against the class, shoot the trap from a distance instead of walking up to it.
Side by side
| Weapon | Damage | Arming time | Trigger radius | Range | Ammo per pickup | Power rating |
|---|---|---|---|---|---|---|
| Proximity Mine | 32 | 0.7 s | 48 px | — | 3 | 5/10 |
| Sentry Turret | 9 | — | — | 260 px | 2 | 4/10 |
| Bear Trap | 16 | 0.6 s | 30 px | — | 2 | 3/10 |
The weapons
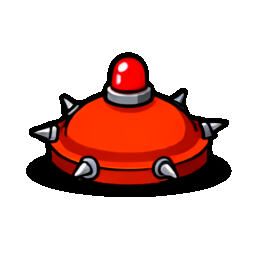 Proximity Mine
A lobbed mine that arms on landing and explodes when an enemy walks close.
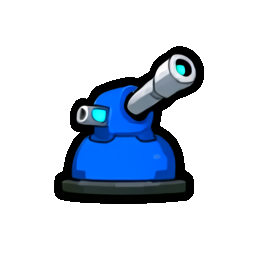 Sentry Turret
A sentry that sticks to the first platform it touches and shoots nearby enemies on its own.
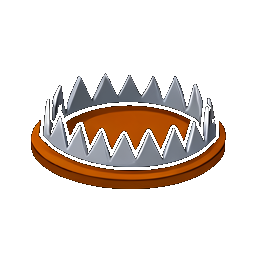 Bear Trap
A ground trap that arms after a moment, then bites and pins the first enemy who steps on it.